These tools are handy for getting photos to the right size for that album page project.
Start With Cropper
 Cropper is designed to do two things: 1) give you control over what part of a picture makes it into the print, and 2) allow you to whip through a folder full of photos in record time.
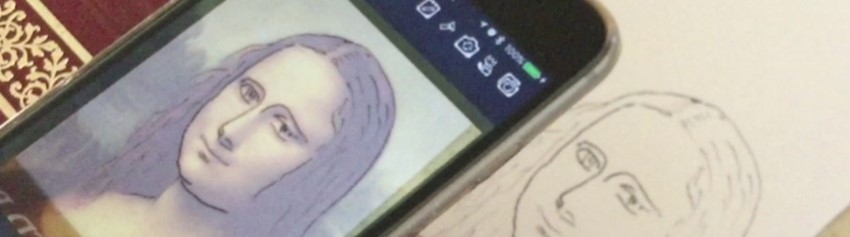
 For your scrapbook project, let's say you have a picture of your child sledding with her friend's family. The theme for your scrapbook page is not her friend's family; instead it's the priceless expression on your her face that you'd like to focus on.
In the old days you'd take the 4x6 print from the drugstore and cut out your child, leaving you with a tiny oddly shaped 1x2ish picture of your child's face.
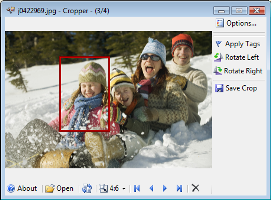 Now with software you edit the digital photo, use a 4x6 setting in the cropping tool to select your child, save the crop, and send it to the drugstore's web page to be printed at the 4x6 size. This effectively enlarges your child's picture to be the significant image on your album page.
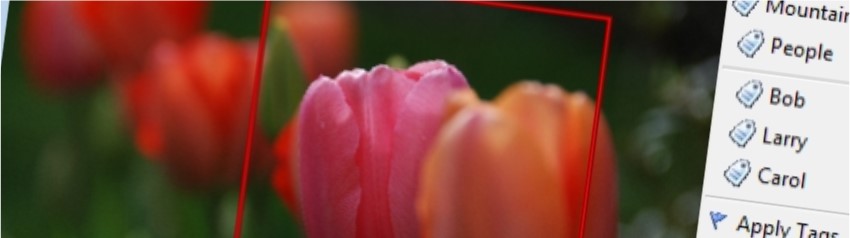
 Obvious, right? Cropper lets you whip quickly through a lot of photos and pull out the bits of the images you want to include in your album page. Pick the aspect ratio you want (1x1, 4x6, 8x10), use your mouse to draw a rectangle, and click "save crop".
The above example with the 4x6 image is pretty straightforward. Of course your album pages might be a little boring if all of the pictures on all of the pages were the same size. But how do we create the variety? If your photo printer deals in fixed print sizes (and usually 4x6 is the cheapest option), how do you get a couple of 4x3 prints, or maybe a bunch of 1x1.5 prints (for those pictures with characters at Disneyland)?
Bring It Together with PhotoSheet
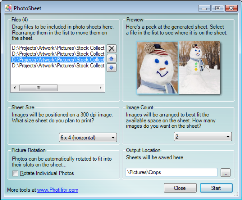
 PhotoSheet creates a composite from a bunch of individual pictures. The final size of the composite is one of those sizes your drugstore probably prints at. And you get to pick how many pictures go into the composite. If you put 4 on a 4x6 page, each will be 2x3. If you put 2 on a 4x6 page, each will be 4x3. With 12 pictures each ends up 1.3x1.5.
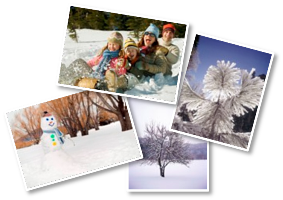
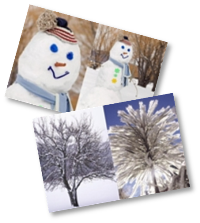
 Nifty. Now back to your page about your child's priceless expression. You have a few other pictures containing elements you want to include on your scrapbook page as accents.
First, decide which elements you want to pull out.
Next, run Cropper and select the aspect ratio closest to your target size.
Now drag the folder (or a photo from the folder) into Cropper and start cropping.
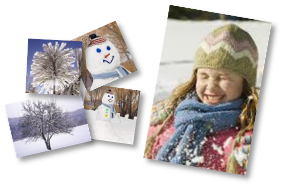
When you're done, drag the pictures you want to use as accents into PhotoSheet. Experiment with different image counts until you see what you like. Hit Start.
Now send the pictures created by PhotoSheet to the printer, and get your scissors ready.

 Scrapbooking with Cropper and PhotoSheet