Embellishing PhotoSheet
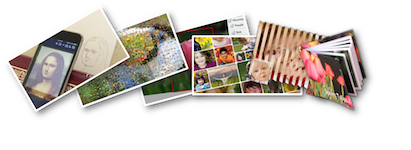
PhotoSheet can help you unleash your creativity. Use PhotoSheet to create the perfect layout for your scrapbook or photo frame, then make it better using your favorite image editing software. Here's a simple walkthrough to illustrate how that could work, including photos, embellishments, and even journaling!
Start with the layout and your photos
To create the perfect page that features your memories, you'll need just a few things:
- photos you want to include
- extra photos you don't want to include
- a PhotoSheet layout you'd like to use
- additional imagery you can use as embellishments (I picked one from Office Images for the example)
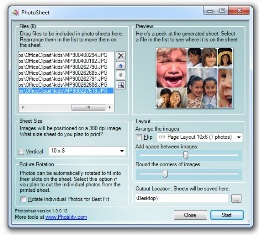
Once you have these things, bring the photos into PhotoSheet and arrange them until you're happy with the layout. To create space for journaling and titles, put photos you don't want into the spaces you'd like to use for journaling. You'll clear that space later. In the example I've put images of shouting children into the spaces that I'll use for other purposes, just to make them obvious.
When you're happy with the look and feel, save the PhotoSheet.

Setting up the layout in PhotoSheet
PhotoSheet output
Finish it up with your favorite photo editor
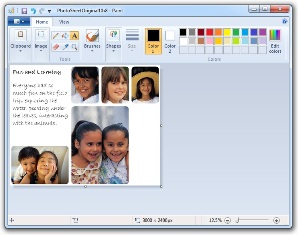
In this example I'm using MS Paint, but PhotoShop or almost any other photo editing software will work.
The process is pretty straightforward, as illustrated below. Using MS Paint, edit the photoSheet and replace the temporary photos with text and/or image embellishments. You can change background colors using the Fill tool, move photos around using the Selection tool, or draw in the image, whatever strikes your fancy!
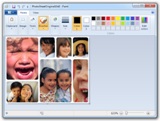
1) Load into MS Paint
2) Remove the placeholder images
3) Add Text
4) Add Embellishments
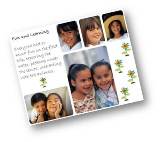
5) Save the image
That's it!